
Nongqai Vol 17 No 8 – Anglo Boer War: The Battle of Vaal Krantz
Excerpt
“In the early morning of February 5, 1900, my position was bombarded so heavily that by sunrise four of my civilians had already been put out of action.”
“The enemy threw two pontoon bridges across the river, and from ten o’clock in the morning troops streamed across them.”
Abstract
The Battle of Vaal Krantz marked General Redvers Buller’s third failed attempt to break through Boer positions along the Tugela River and relieve Ladysmith. Confined terrain, heavy Boer resistance under Ben Viljoen, and the inability to deploy British artillery effectively forced Buller to abandon the operation after three days of fighting.
Keywords
Vaal Krantz, Anglo-Boer War, Redvers Buller, Tugela River, Ladysmith relief, Louis Botha, Ben Viljoen, Johannesburg Commando, British casualties, Boer defences, pontoon bridges, artillery limitations
CHAPTER 12 – ANGLO BOER WAR: THE BATTLE OF VAAL KRANTZ
Jennifer Bosch
The Battle of Vaal Krantz was General Redvers Buller’s third unsuccessful attempt to break through the Boer defences and relieve the besieged British garrison at Ladysmith.
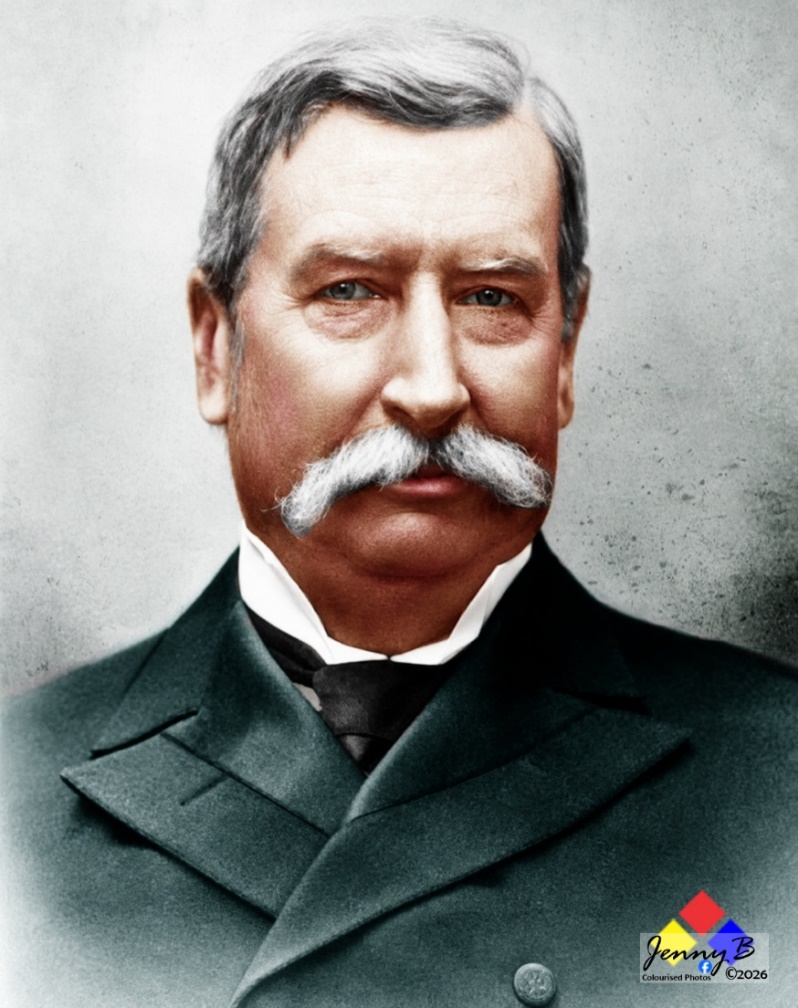
Sir Redvers Buller – Commander-in-Chief, Natal Field Force.
Buller’s first two attempts had ended in defeat at Colenso and Spioenkop, where the British suffered around 3,000 casualties compared with only a few hundred Boer losses. Despite these setbacks, Buller once again attempted to cross the Tugela River and establish a position from which his army could advance towards Ladysmith.
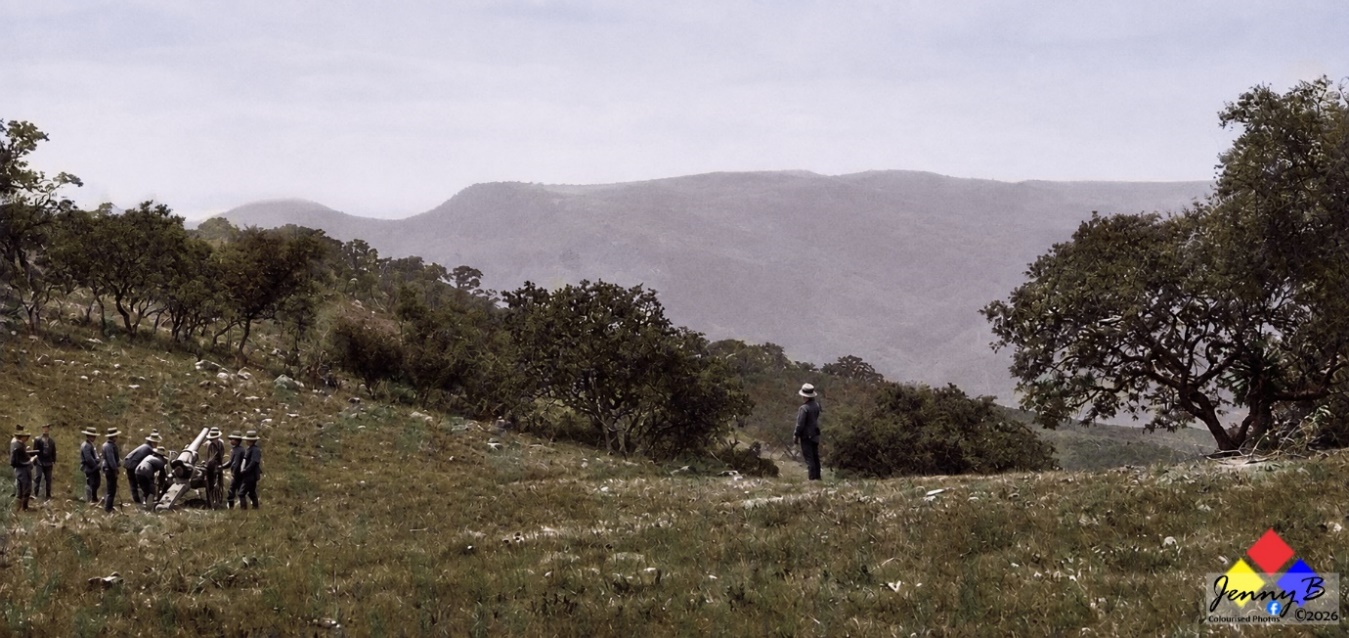
Vaal Krantz was a ridge of small hills, or kopjes, situated a few miles east of Spioenkop. British troops, including the Rifle Brigade and Durham Light Infantry of the 2nd Division, were sent forward to secure a bridgehead across the Tugela. Fierce fighting and skirmishing continued for three days as the British tried to establish and hold their position against Louis Botha’s Boer forces.
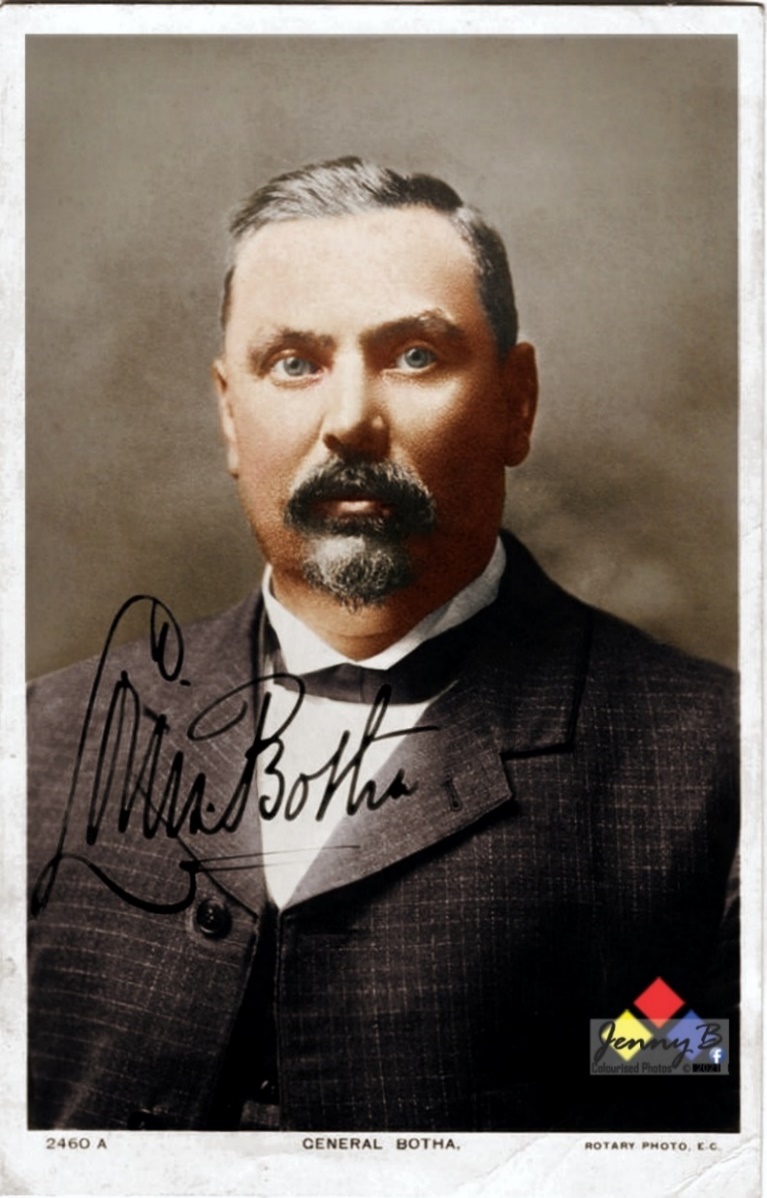
However, Buller soon realised that the narrow and confined position at Vaal Krantz made it impossible to bring his heavier artillery forward to provide adequate support for further infantry attacks. After consulting his senior commanders, he concluded that the position could not be exploited and decided to abandon the attempt and seek another route across the Tugela.
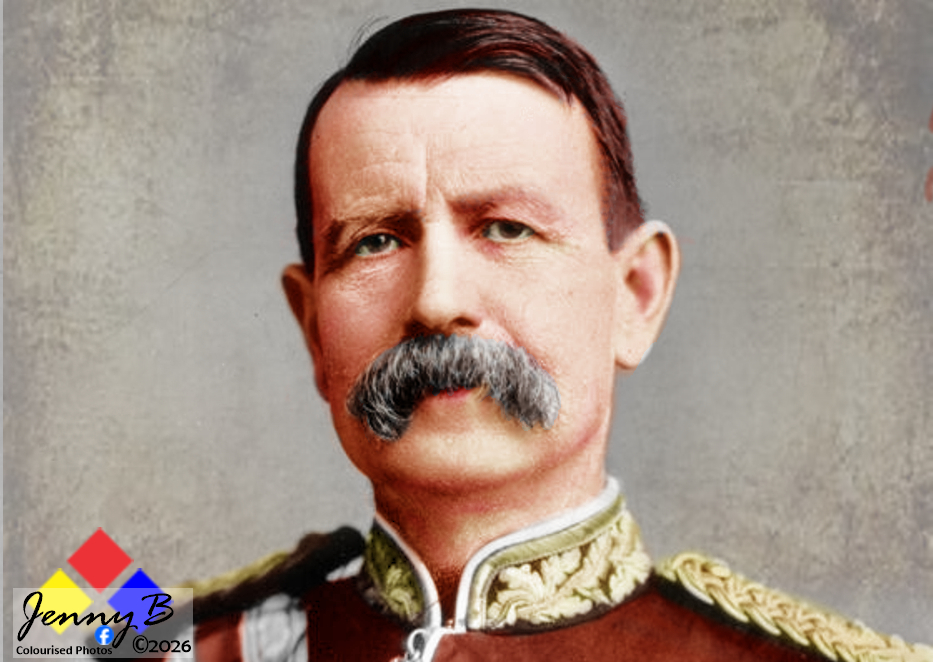
Lt-Gen Sir Charles Warren – commanded the 5th Division and played an important role in the Vaal Krantz operations. At the council of war he was the one senior commander who did not advocate withdrawal; he favoured withdrawing only if Buller knew of another point from which an attack could be made. –angloboerwar .com
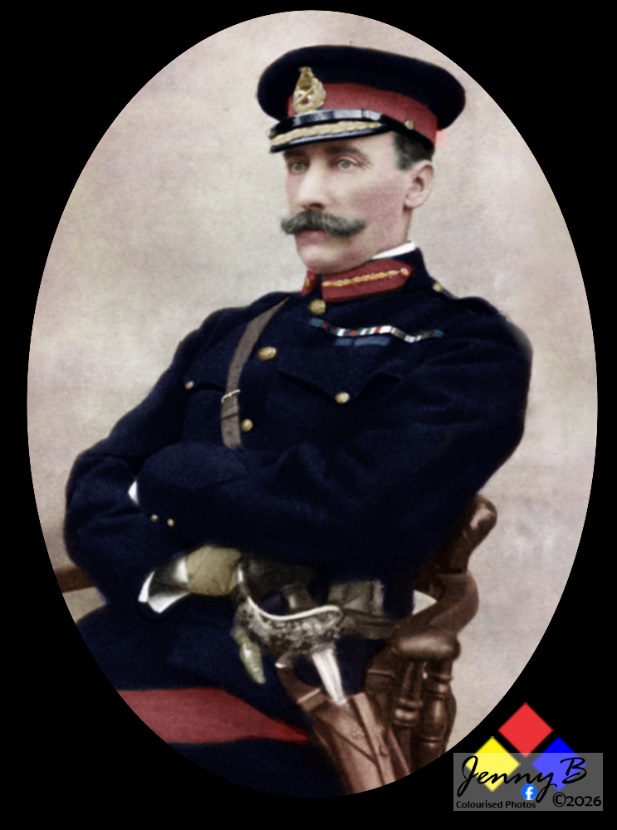
Major-General Arthur Fitzroy Hart – commanded the 5th Brigade. At the council of war, he was the one general who favoured continuing the attack, proposing an assault on Doorn Kop. -angloboerwar.com
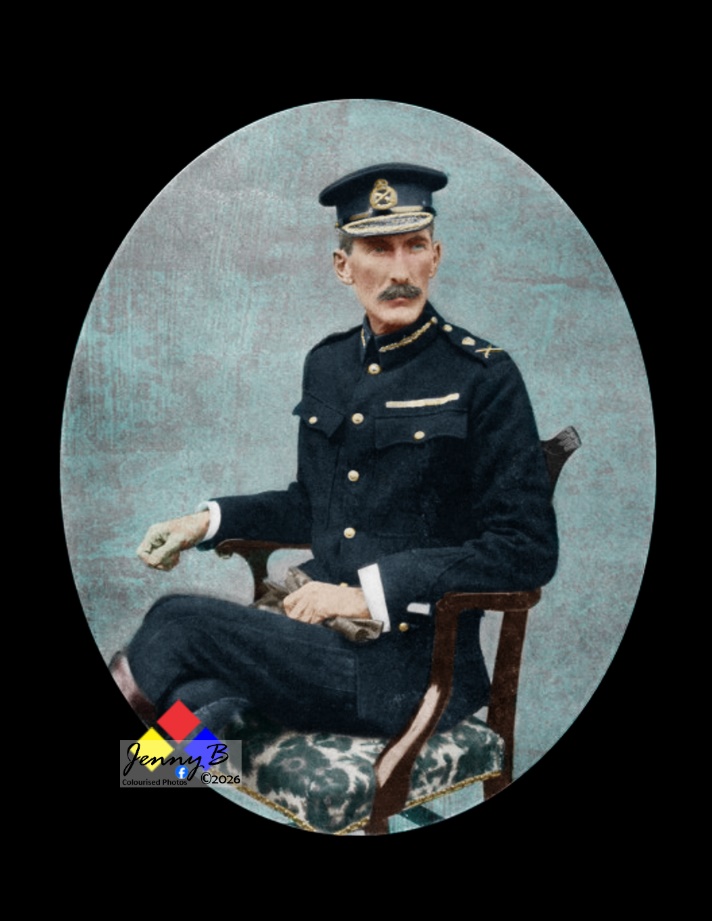
Major-General Sir Edward Hildyard – commanded the 2nd Brigade. His brigade relieved Lyttelton’s troops on Vaal Krantz and held the position through the night, successfully repelling a Boer counter-attack. He was one of the key commanders actually directing troops on Vaal Krantz. -wiki
Lieutenant-General Sir Henry Lyttelton who commanded the 4th Brigade and led the initial assault across the Tugela and the attack on Vaal Krantz. He was relieved by Hildyard. -angloboerwar.com
The Council of War
The council was held on 7 February 1900. Contemporary accounts say that all the Generals present recommended withdrawal except Hart, who wanted to attack Doorn Kop. Warren recommended withdrawal only on the condition that Buller had another suitable point from which to attack. Clery was absent because of his injured leg. -angloboerwar.com
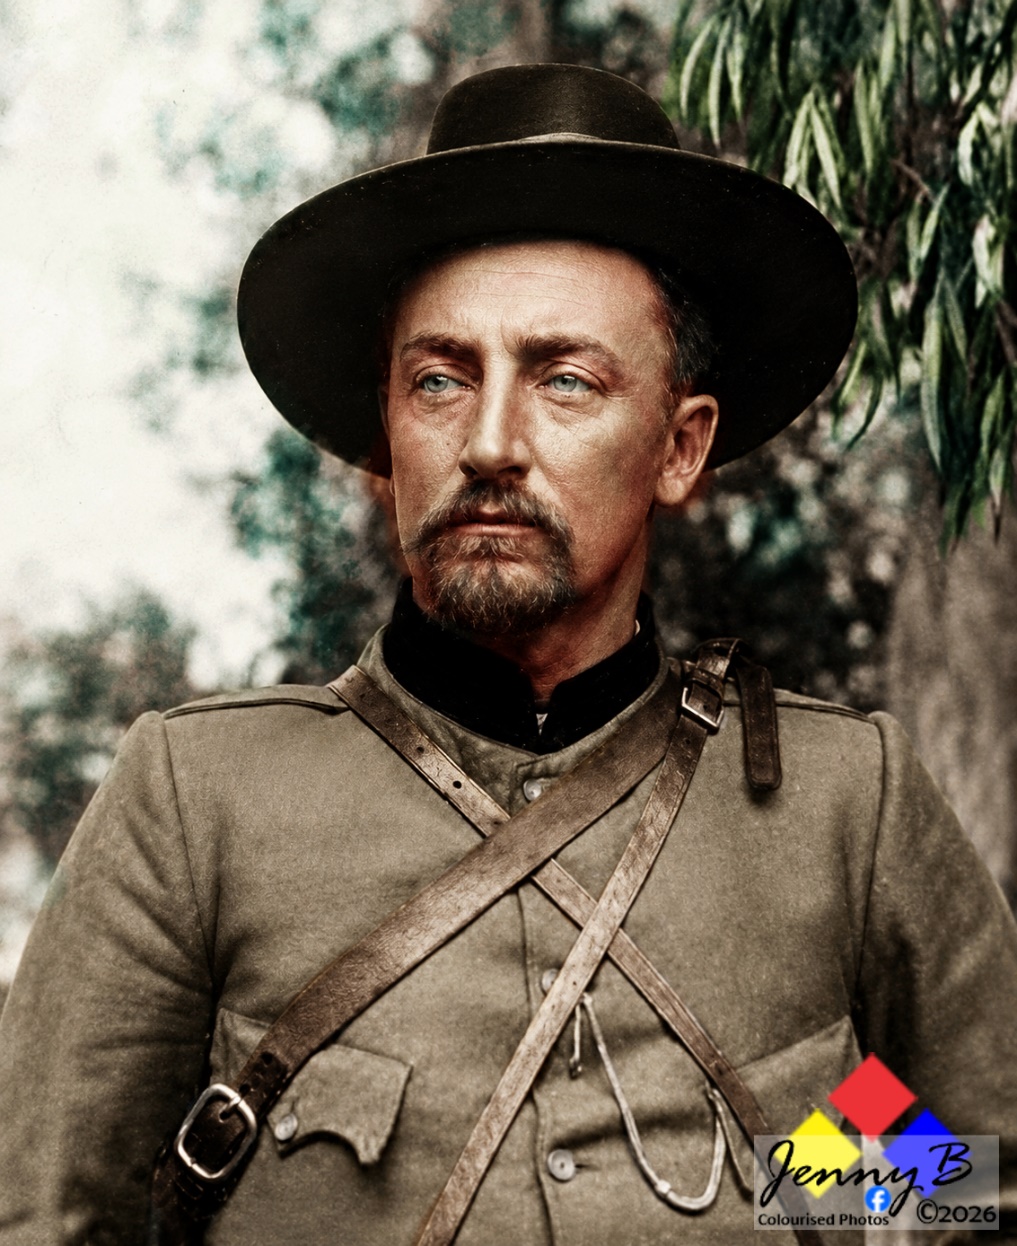
General Ben Viljoen, Boer commander on Val Krantz at the Battle of Val Krantz
Ben Viljoen was the local Boer commander responsible for holding Vaal Krantz, and his small Johannesburg Commando bore the brunt of the British assault. His personal rescue of the pom-pom after its crew had been killed became one of the best-known acts of bravery of the battle.
iljoen himself later wrote an account of the battle, Mijne herinneringen uit den Anglo-Boeren-oorlog (1902), which contains a specific chapter entitled “Gevecht te Vaalkrans”.
Extract from his book:
| In the early morning of February 5, 1900, my position was bombarded so heavily that by sunrise four of my civilians had already been put out of action. The enemy had positioned his cannons on the edge of the forest, known as Zwartkop, in such a way that they could fire upon our positions at an elevation of approximately 400 feet. I was situated with about 95 civilians and a pom-pom on the right side of our positions, and Assistant Commander Japie du Preez was in command of the left side. The enemy threw two pontoon bridges across the river, and from ten o’clock in the morning troops streamed across them. The entire cannon fire concentrated on my position. We fired back at the soldiers, but they charged again and again. The number of my men dwindled rapidly. I had to endure the heaviest bombardment of the entire war. | |
| [p. 53] |
British casualties were reported at between 333 and approximately 380, depending on the source, while Boer losses were considerably lower. Although Vaal Krantz was a relatively small engagement compared with Colenso and Spioenkop, it represented another setback for Buller in his efforts to relieve Ladysmith.
Src: angloboerwar.com
wiki
Pakenham
BritishBattles.com