
Nongqai Vol 17 No 7 –ABW Agtertang & Slingerfontein
Abstract
This chapter examines two linked engagements during the Colesberg campaign of early 1900: the skirmish at Agtertang Station on 3 January and the Battle of Slingerfontein on 9–10 January. British forces under Major General John French sought to secure railway lines and dominate the surrounding high ground, while Boer commandos under Generals Schoeman, Piet de Wet, and later Koos de la Rey attempted to halt their advance. The chapter highlights the role of mounted troops, particularly the newly arrived 1st New Zealand Contingent, whose reconnaissance, outpost duties, and defensive actions contributed significantly to British operations. Their stand on 15 January at what became known as New Zealand Hill—alongside the Yorkshire Regiment—proved decisive, repelling a determined Boer attack with minimal losses. The narrative also includes biographical notes on individual soldiers such as Trooper Alister Hugh Matheson and Private George Bradford, the first New Zealander to die in the Anglo-Boer War. Overall, the chapter situates these actions within the broader strategic contest for control of northern Cape Colony and the eventual British consolidation around Colesberg.
Keywords Colesberg campaign; Agtertang Station; Slingerfontein; New Zealand Mounted Rifles; New Zealand Hill; Major General John French; General Koos de la Rey; Boer commandos; Anglo-Boer War; Yorkshire Regiment; mounted infantry; George Bradford; Alister Hugh Matheson.
Chapter 10 – Anglo Boer War: The Actions at Agtertang Station and Slingerfontein.
Jennifer Bosch
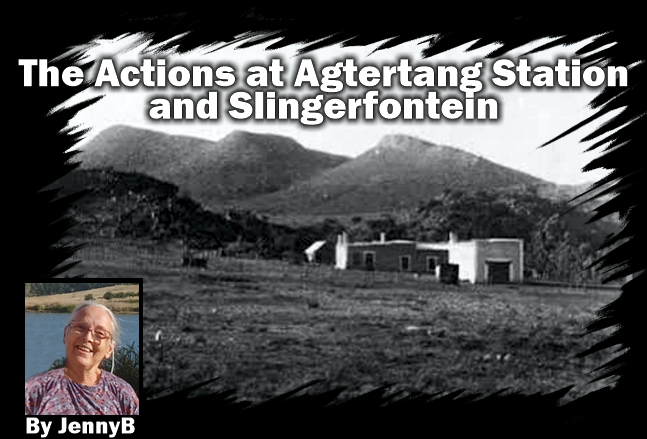
These actions were part of the fighting around the Colesberg campaign in the N Cape Colony. During late 1899 and early 1900, British and Boer forces contested control of the railway lines and strategic hills around Colesberg.
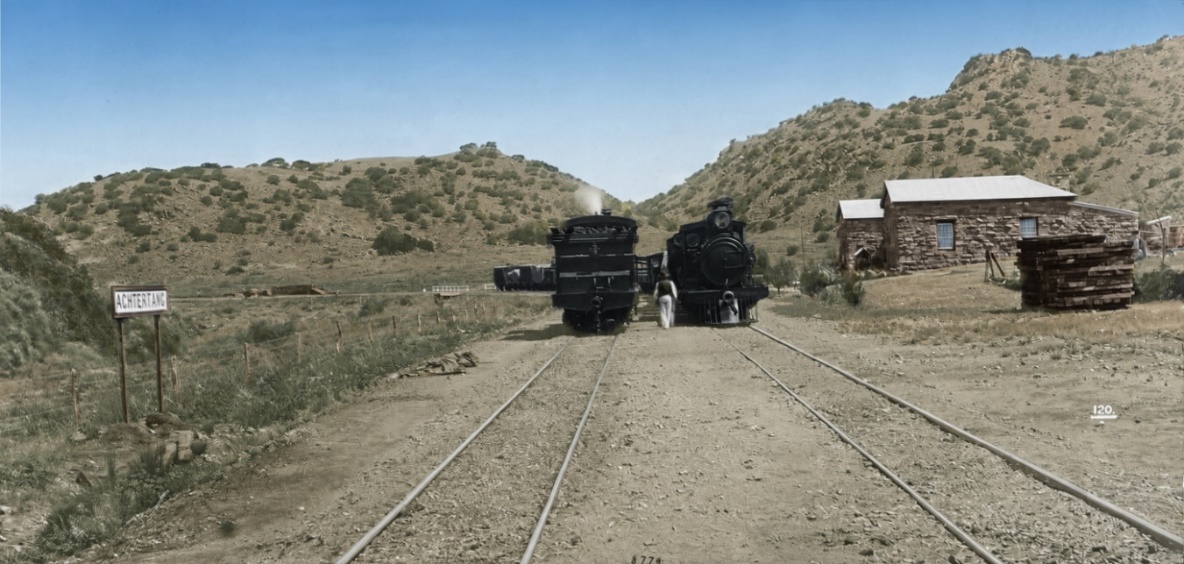
Date: 3 January 1900
Agtertang Station, a small railway halt on the line north of Colesberg. saw Boer and British mounted troops clash in a minor engagement as British forces sought to probe Boer positions and protect the railway. The fighting consisted mainly of long-range rifle fire and manoeuvring by mounted infantry.
Dates: 9–10 January 1900
The Battle of Slingerfontein was one of the principal engagements of the Colesberg campaign. British forces under Major General John French occupied high ground around Slingerfontein to threaten Boer communications and maintain pressure on the enemy. Boer commandos repeatedly attacked the British positions in an effort to drive them from the hills. The driving force behind the British operations, he relied on fast-moving mounted troops to probe Boer positions, seize advantageous ground, and force the Boers to react.
The fighting was marked by determined infantry and mounted actions over rugged terrain. Despite several Boer assaults, the British retained their positions and inflicted significant losses. Although tactically inconclusive, the battle strengthened the British hold around Colesberg and contributed to the eventual Boer withdrawal from the district in February 1900, allowing the British to advance further into the Orange Free State.
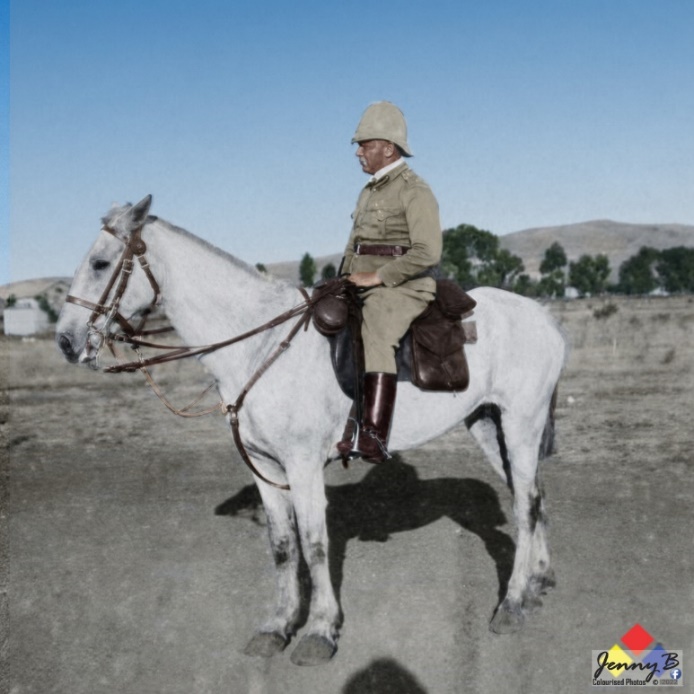
General John French: Commander of the British force at Colesberg. French used aggressive reconnaissance and mounted operations to keep the Boers under pressure. He directed the movements that led to the Agtertang skirmish and organized the defence of the Slingerfontein positions.
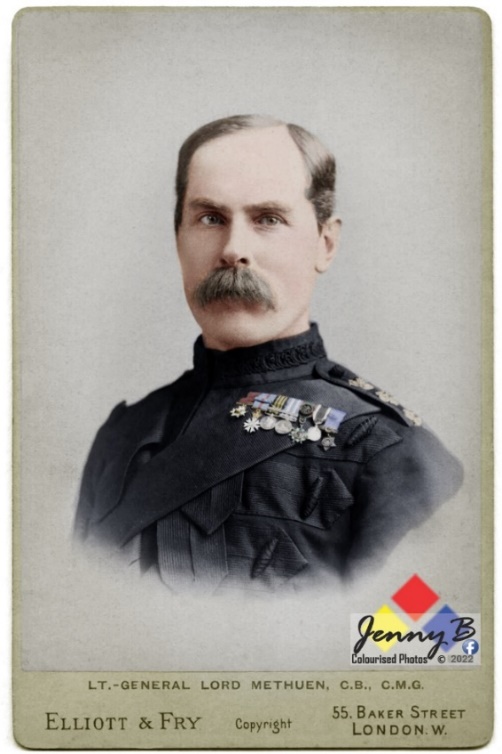
Lieutenant General Lord Methuen: Overall commander of British forces in the Cape before French assumed greater operational independence. His strategic objective was to contain the Boer forces around Colesberg and prevent their advance into Cape Colony.
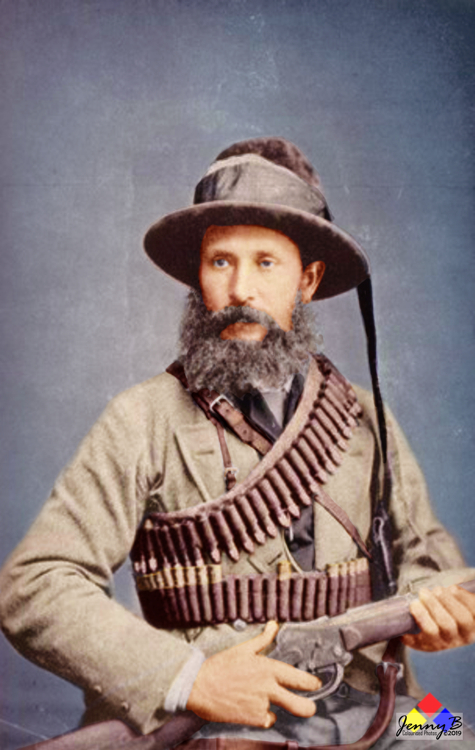
General J.D.P. Schoeman: Commander of the Boer forces opposing French around Colesberg. He directed Boer attempts to contain the British advance and authorized attacks against British-held positions, including those at Slingerfontein.
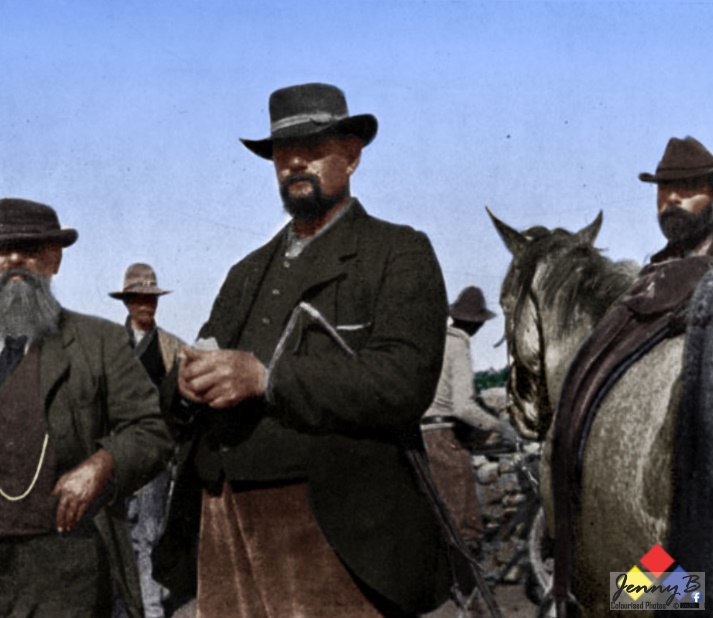
General Piet de Wet: Assisted in commanding Boer commandos in the Colesberg sector and coordinated operations against the British flanks during this phase of the campaign.
New Zealand Mounted Rifles: The newly arrived New Zealand mounted troops carried out reconnaissance, patrols and outpost duties. They were involved in the fighting around Agtertang and later in the defence of positions during the Slingerfontein ops.
Trooper / Sgt. Alister Hugh Matheson – 3262
A farmer from Tauranga, and already a sergeant in the Tauranga Mounted Rifles, part of the 6th Cont which left on the Cornwall on 30 Jan. 1901. The son of Robert and Sarah Matheson and brother to Ronald Tracey Matheson, who also fought in this war. Alister served in Transvaal, Orange Free State and Cape Colony. He was seriously ill in a military hospital in August 1901. He also served in the First World.
1st New Zealand Contingent.
They gained some of its earliest combat experience during these operations. Its mounted riflemen performed scouting missions, protected the British flanks, and fought as dismounted infantry when required. Several members distinguished themselves during the January fighting.
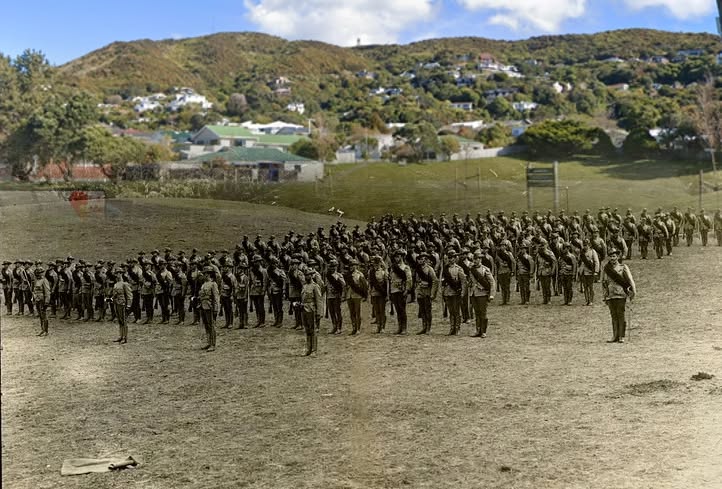
NZ 1st Contingent at Campbell’s Farm in Karori, now Ben Burn Park, Wellington, New Zealand.
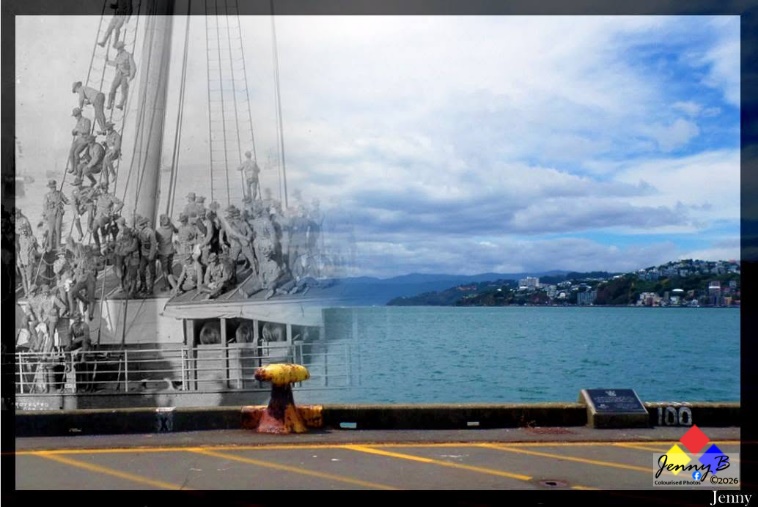
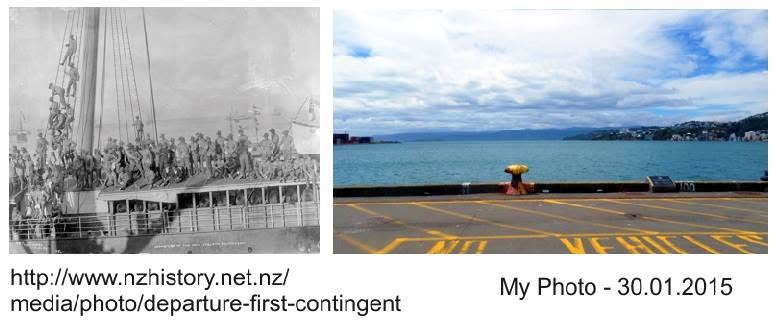
THEN AND NOW 1st Cont leave Wellington Harbour, NZ for SA aboard SS Waiwera from Queens Wharf – 21 Oct 1899
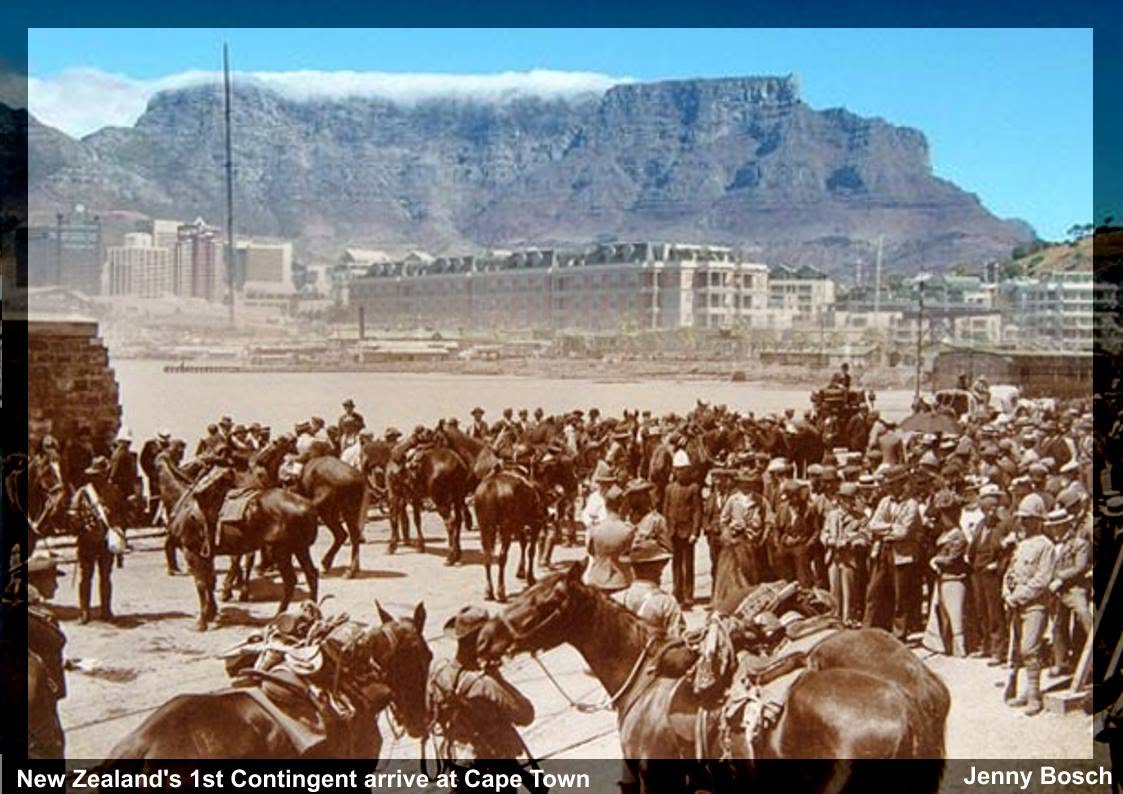
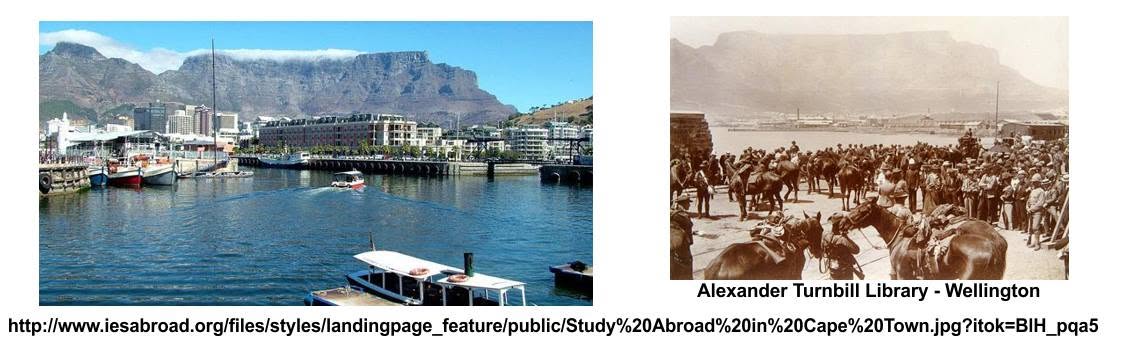
January 15, 1900: A combined force of the Yorkshire Regiment and the 1st New Zealand Contingent successfully defended a steep ridge against a Boer attack. The location later became famous as New Zealand Hill.
After its arrival in South Africa the First New Zealand Contingent was attached to Major-General Sir John French’s Cavalry Division in northern Cape Colony. It saw its first significant action at Jasfontein farm on 18 December 1899. This skirmish resulted in the first death of a New Zealand soldier in an overseas conflict.
After being taken prisoner, Private George Bradford died 10 days later of wounds sustained at Jasfontein. He enlisted on 7 October 1899 as a Farrier with the first company of the First Contingent.
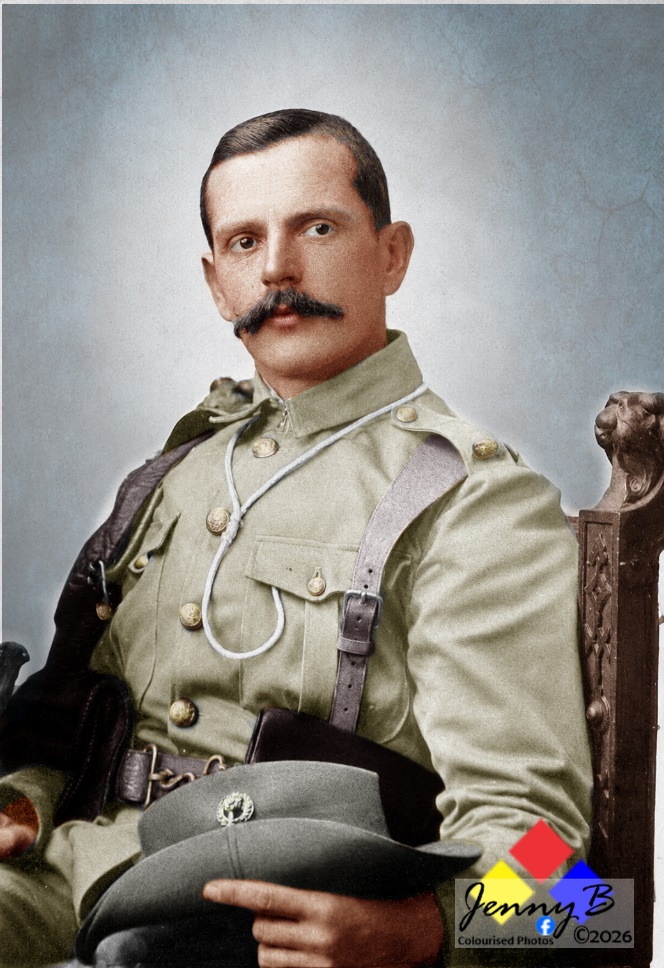
Private George Bradford – The 1st New Zealander to die in the Anglo Boer War
A detachment of the First Contingent soon proved its worth at Slingersfontein farm, which it had helped a British force capture in early January 1900. When the Boer
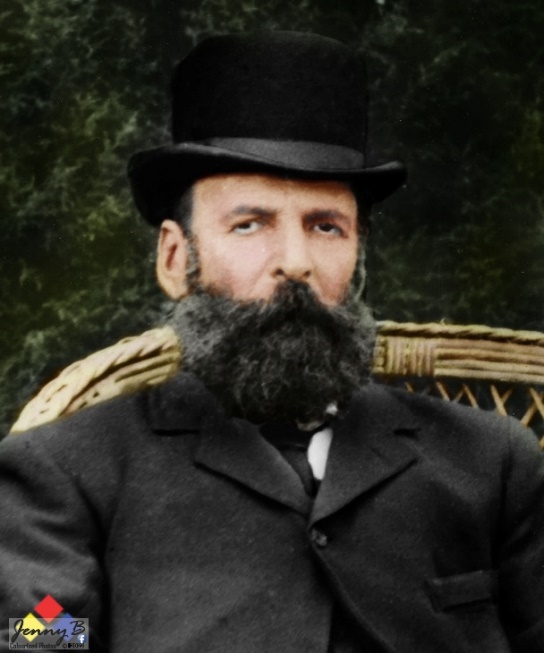
General Koos De la Rey
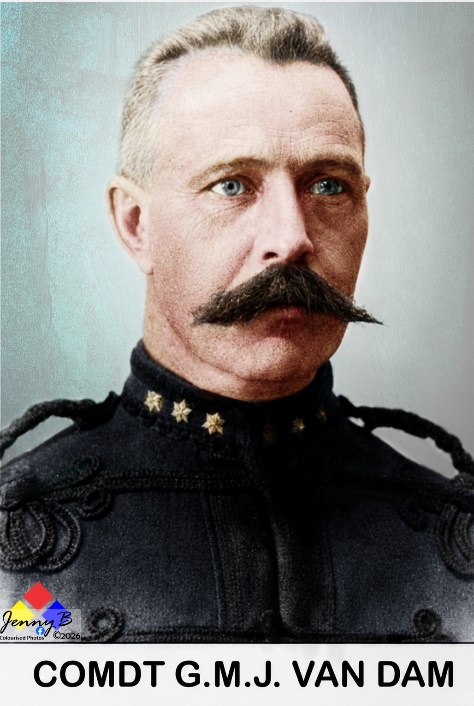
Gen. de la Reys HQs were at Keerom Farm, south of Achtertang. He took over command of the entire Boer left position with a force of some 1000 men, mainly from the JHB Commando and the ZARPS under Cmdt. Van Dam. On 13th Jan. he shelled Slingersfontein camp at long range, following this up on 15 January to retake the farm. The 60 New Zealanders, under Captain W.R.N. Madocks, and a company of the Yorkshire Regiment defended a hill overlooking it. With the British forces suffering heavy casualties, Madocks sent some of his troops to the Boer flank, then led a bayonet charge against their front. The enemy, forced to retreat, left behind 21 dead at a cost of only two New Zealand lives. The New Zealanders were praised for their actions, Madocks was promoted to Major and the hill was named New Zealand Hill.
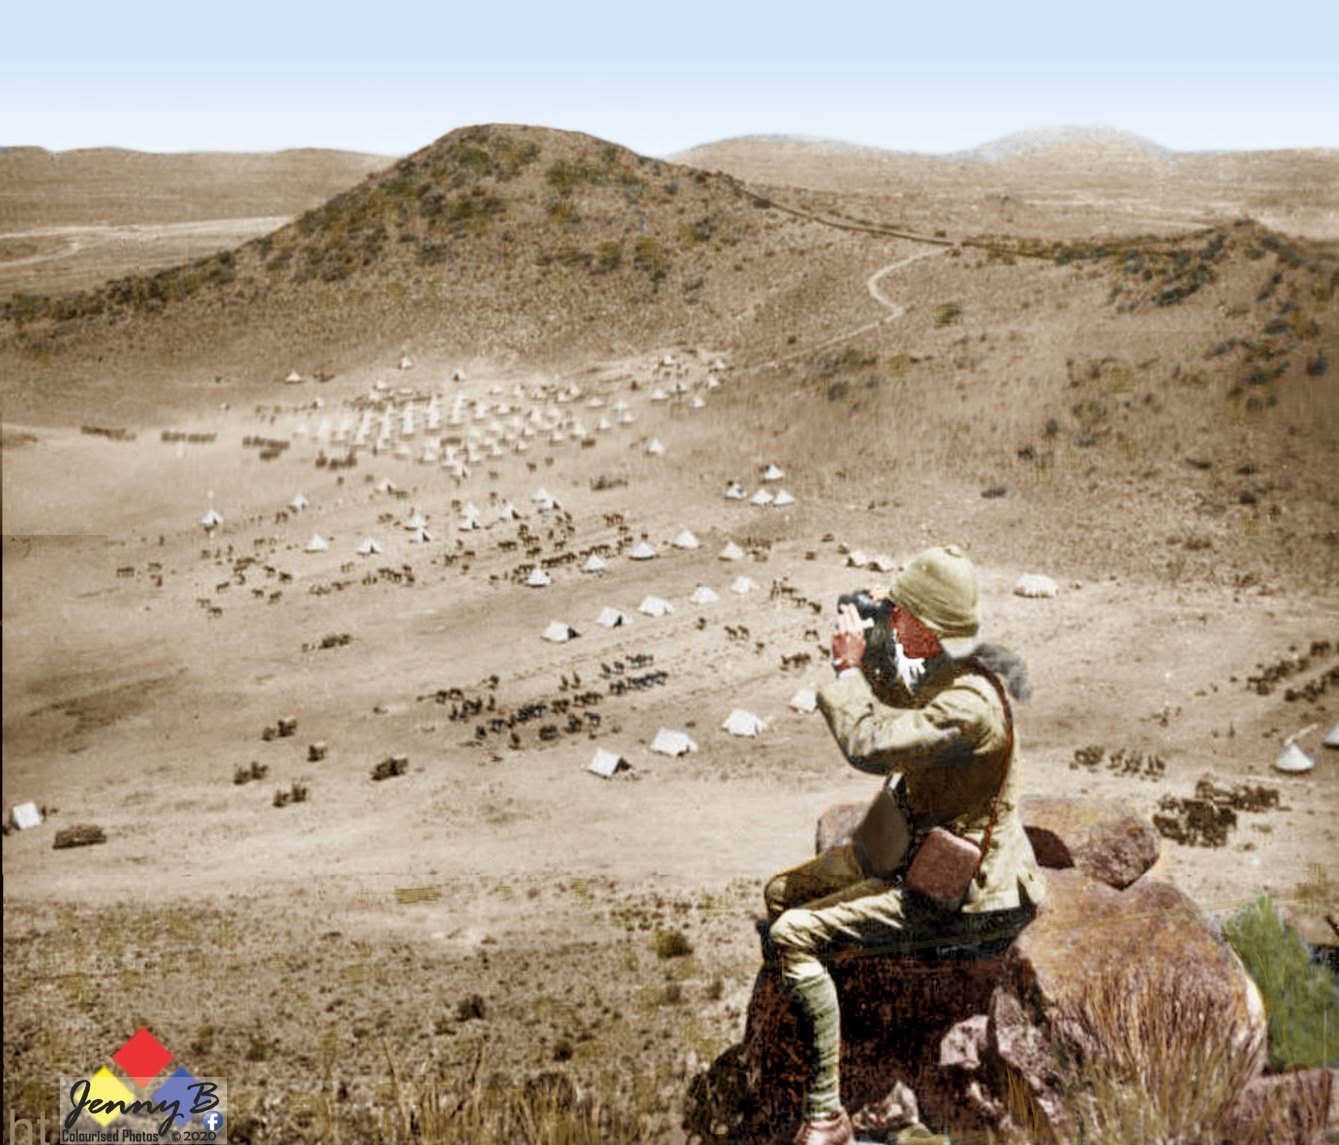
A soldier of the 2nd battalion Worcesters
looks down on Slingerfontein Camp from Worcester Hill
Text from “With the Flag to Pretoria” reads:
On January 15 a picket of the Yorkshire Regiment, about forty strong, with thirty New Zealand Mounted Rifles were holding the spur of a hill, since called New Zealand Hill, near Slingersfontein, when some Boers suddenly attacked the Yorkshires at the extremity of the steep spur. Their officer and sergeant were struck down, and the men would have been lost had not Captain Madocks with some New Zealanders made a sudden onslaught, rallied the Yorkshires, and routed the Boers.
Sources – nzhistory.govt.nz
wacolonialmilitary.com
angloboerwar.com
researchgate.com
colesberginfo.co.za
boerwarwa.org.au
wbmr.org.za

